This is a speaking activity where the students need to create their "cardboard dolls" and describe them using adjectives for describing physical appearance ( tall, short, fat, slim, big eyes, small eyes, long hair etc.) and also using have got / has got . They are expected to say sentences like: He is tall and fat. He has got short, dark hair and big blue eyes. In order to change the atmosphere in the classroom and make the students more comfortable, I asked them to sit in a circle on the floor. I put the props in the center and the students created the "cardboard dolls". This is a great way for the teacher to grade students' speaking abilities and also for the students to listen to their peers first and then provide their own description so that they don't feel insecure and not able to perform the task.
Showing posts with label EFL games. Show all posts
Tuesday, November 7, 2023
Thursday, January 14, 2016
Asking questions using gerund (presentation and practice)
The aim of this lesson is introducing gerund for making questions.
This lesson follows the one posted previously when the students were introduced with the affirmative and negative form of gerund.
1. I started the lesson by delivering the flash cards to the students from the previous lesson in order to revise affirmative and negative sentences using gerund. Then I introduced how questions are made for each person respectfully. Make sure that you elicit as much as possible from the students while writing down the examples on the board.
This lesson follows the one posted previously when the students were introduced with the affirmative and negative form of gerund.
1. I started the lesson by delivering the flash cards to the students from the previous lesson in order to revise affirmative and negative sentences using gerund. Then I introduced how questions are made for each person respectfully. Make sure that you elicit as much as possible from the students while writing down the examples on the board.
2. In order to practice asking questions I decided to do a class survey. I gave the students the instructions and then allowed them to stand up, walk around and interview each other. Once they finished with the survey we put the results on the board. Be sure to expect a bit of a noisy classroom but it's all part of learning and having fun :)
3. In the end we practiced some more speaking by playing a game. I made this paper crown by myself and the cards used in the game too. I got the idea from the game Hedbanz, but I adapted it to my students' needs. It's fun and serves the purpose right. The good thing about it is that you can use it with different questions (tense) and different vocabulary.
Friday, January 8, 2016
Learning about shapes and the world around us
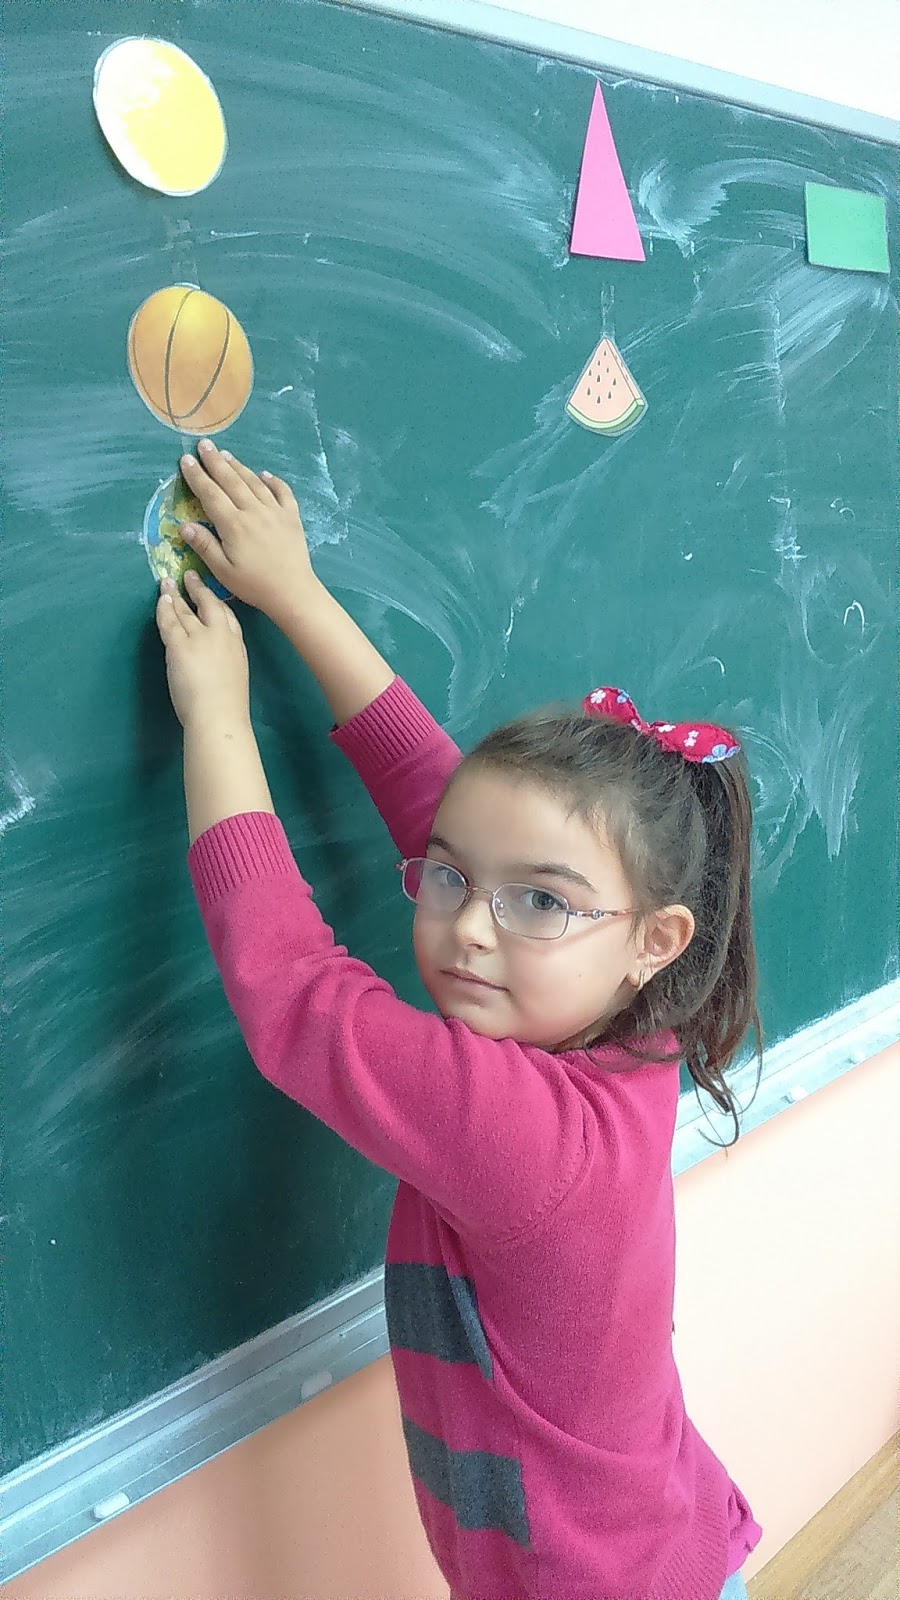
The first grade students are only 5 or 6 years old, not many of them have attended kindergarten so they get their first learning experience at school. When we learn about shapes I like to use different colorful pictures to make the students more aware of the shapes that surround us. In this way not only do they learn the shapes (circle,triangle,rectangle,square) but they also learn many other words/ objects that come in the shapes mentioned above.
1. First I put the shapes on the board and I present the words, asking the students to repeat the pronunciation after me several times.
2. Then I distribute different pictures to each student of objects that come in one of the shapes. I encourage students to name the shape of the object and if possible the object itself. I'm there to help them and guide them. Each students comes to the board and puts his/her picture in the correct category.
1. First I put the shapes on the board and I present the words, asking the students to repeat the pronunciation after me several times.
2. Then I distribute different pictures to each student of objects that come in one of the shapes. I encourage students to name the shape of the object and if possible the object itself. I'm there to help them and guide them. Each students comes to the board and puts his/her picture in the correct category.
3. After we put all of the pictures on the board I ask the students to name the shapes in the order they are arranged.
4. Finally I tell students to bring me one of the shapes so that we can clear the board. By the end of the lesson almost all of the students remember the shapes in English.
Running dictation - Make testing fun!
From my teaching experience I can see that spelling is one of the most challenging parts of learning a foreign language. Students often find it very difficult to remember the words and the teacher should constantly try to find various ways to make this as simple and as fun as possible for them. I'm not very keen on testing but still it is part of the whole teaching process. What I like to do when I want to revise/ test vocabulary spelling is "running dictation".
There is no need for any extra preparation for this lesson. You can put two posters / sheets of paper on the board, one for each group. Give a marker to each group and choose a set of pictures. Make sure that you give the equal number of pictures (words to be written on the poster) to the groups.
I wanted to revise rooms in the house and furniture vocabulary but you can do it with any topic that you like.
Here's how it goes:
1. Put the posters on the board.
2. Divide the students in two groups,distribute markers and put the pictures on the desk next to the groups facing down.
3. Once they hear the teacher say; "Start!" the students need to choose a picture from the pile, run to the board and write the word for that picture on the poster. Then they have to run back and allow to another member of the group to choose a picture and run to the board to write the word. Both of the groups run to the board at the same time but they write different words. What I often do is distribute the pictures to the groups and once they finish writing the words I switch the sets. In this way both of the groups get a chance to write all of the words on the board.
One thing you have to be prepared for is a noisy classroom. Students get really excited and they like to cheer for their classmates - but it's all part of the fun :)
4. When the students finish writing all of the words on the board go the posters and check the spelling together with the students. In this way they become more aware of what they need to practice further.
You can do this in one lesson and according to the results you can do the same dictation using the same words on the next lesson. I've noticed that students try really hard to remember the correct spelling of the words and almost make no mistakes in their second attempt.
I hope you find this useful!
Tuesday, October 27, 2015
Halloween party
This year we decided to organize a Halloween party in our school. My colleagues and I worked as a team and did our best to create a pleasant atmosphere for our students. We also included the parents by inviting them to take part in some pumpking painting. All of the students and the teachers wore costumes. All of the games, activities and the photo booth were created by ourselves though we did some research on the Internet to selected the best ideas.
I hope you'll find this interesting enough and use some of it for next year's Halloween :)
1. Photo booth - Find a good picture on the Internet and use a thick cardboard to create the photo booth. Colour it and draw holes for the face. Place it in a nice corner in the classroom and you're ready to take photos.
3. A very similar game to the previous one is with a ghost and a speech bubble saying : BOOO. Blindfold the students and ask them to put the Boo sign closest to the ghost's mouth.
4. Put the rings on the cones. For this game we bought some scary hats and used several rings. The students need to toss and put as many rings on the cones.
I hope you'll find this interesting enough and use some of it for next year's Halloween :)
1. Photo booth - Find a good picture on the Internet and use a thick cardboard to create the photo booth. Colour it and draw holes for the face. Place it in a nice corner in the classroom and you're ready to take photos.
2. Place the bow tie - You can either draw a skeleton on the board or you can make one out of cardboard so you can use it over and over again through the years. Print and cut some bow ties. Blindfold the students and ask them to pin the bow tie on a certain place on the skeleton. The person who puts the bow tie on the target place is the winner.
4. Put the rings on the cones. For this game we bought some scary hats and used several rings. The students need to toss and put as many rings on the cones.
5. Toss and hit. You need a big cardboard box to create this. Draw and color the pumpkins and make three holes in each pumpkin with a different size. Give the students some paper balls and ask them to try and hit the holes. The biggest whole is 5 points, the second is 10, and the smallest is 15 points. Collect the points and announce the winner :)
6. Broom and pumpkin race. Make sure you have enough space in the school where you can do this game. Take two small pumpkins and two brooms. Set a starting spot and a finishing spot. Ask students to race each other by hitting the pumpkins with the brooms and rolling them to the finishing spot.
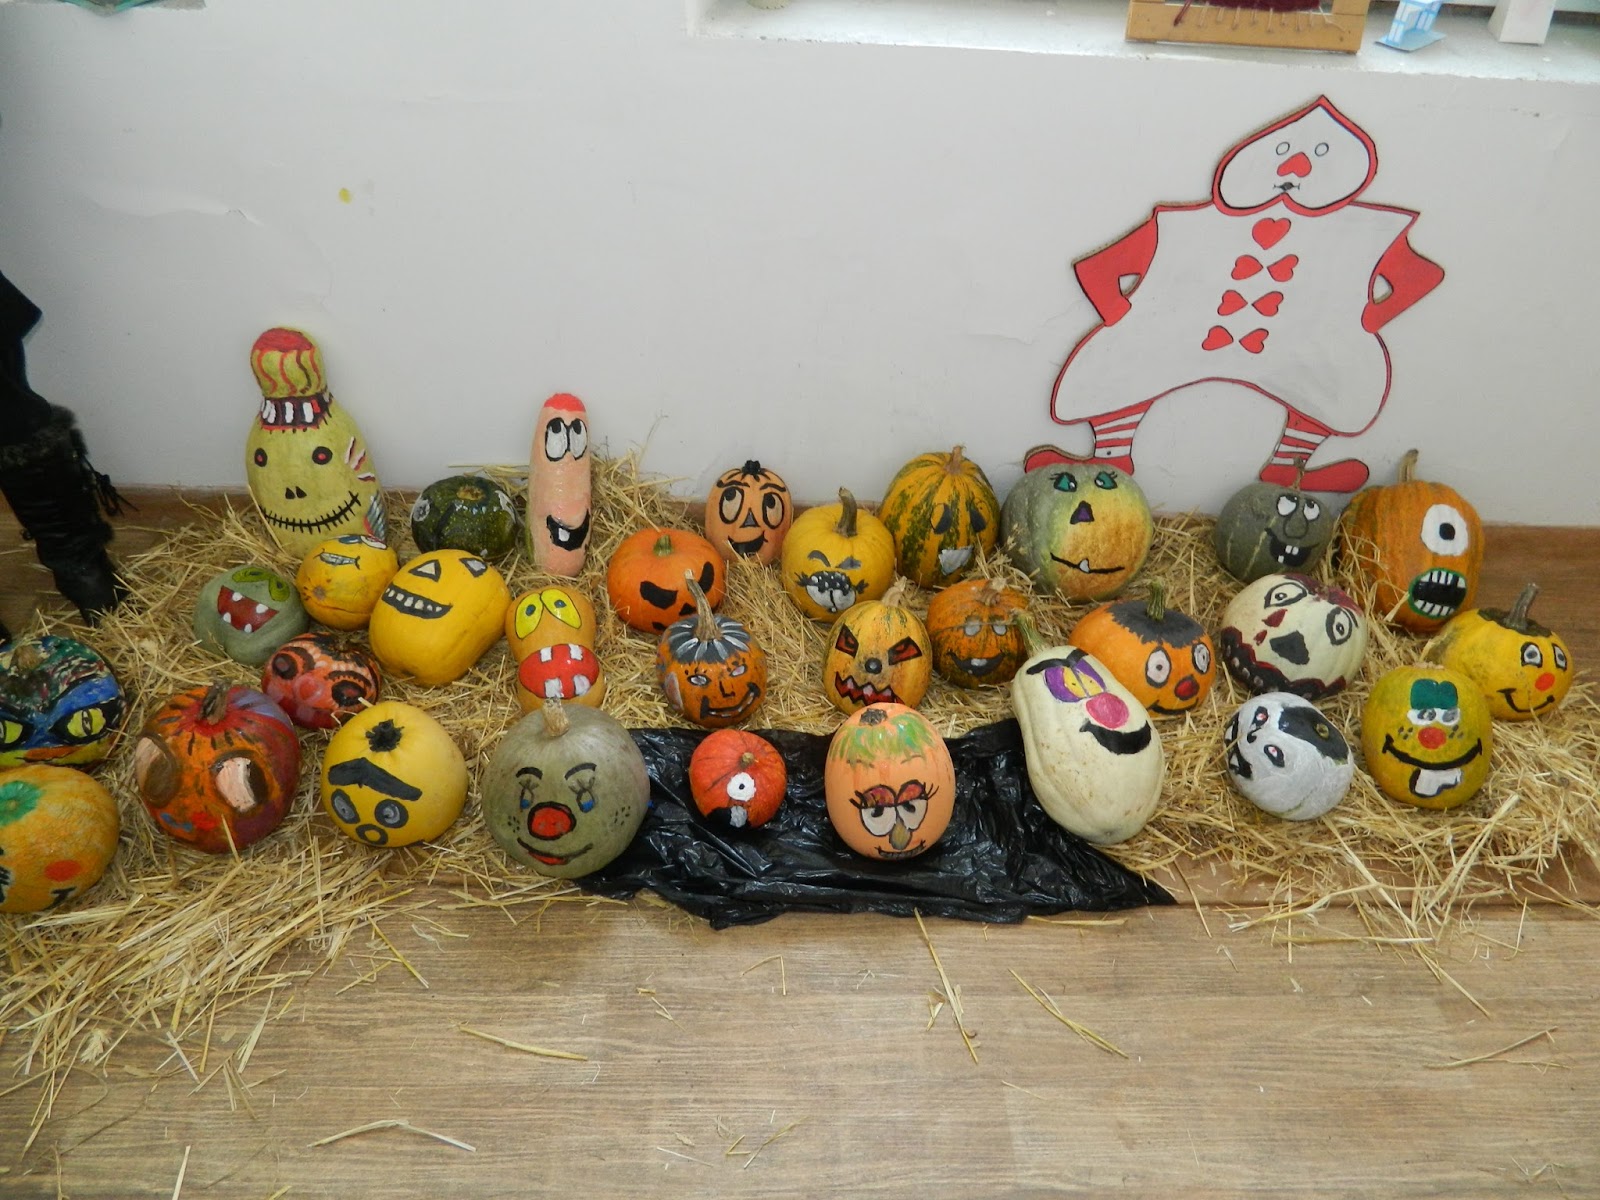
7. Pumpkin painting. Carving pumpkins can be a bit difficult and time consuming. Instead you can paint the pumpkins and still get some scary ones. This year we invited the students' parents to help us with this. After the pumpkins were done we displayed them in the hall of the school. We've really got some fine artists :)
8. Trick or treat. Halloween wouldn't be complete without a treat. My colleagues and I prepared home made cupcakes and decorated them for the occassion. Yummy.....
SEE YOU NEXT YEAR WITH SOME NEW IDEAS!
You can see more photos of the event here:
https://www.facebook.com/emiemce/media_set?set=a.10153014658096853.1073741879.603176852&type=3&pnref=story
Subscribe to:
Posts (Atom)