A teacher needs to find various appealing ways to teach young learners. When it comes to teaching the alphabet I always try to incorporate different tasks for students to memorize the letters more easily. One such activity is the following shown in the photos. Once the students are presented with the letters from the English alphabet, they receive a piece of paper on which they need to write the first letter of their name and also represent a word with a picture that begins on the same letter. This can be their favourite toy, animal, food etc. I love these type of activities where students can give their personal touch. It is especially useful to get to know the students better, to learn about their preferences and personalities. They can also see how much they have in common and learn more about each other.
What is more you can put the papers on display in your English Corner, if you have one.
I like to engage my students as much as possible both in the learning process and in the creation of the learning/ teaching materials.
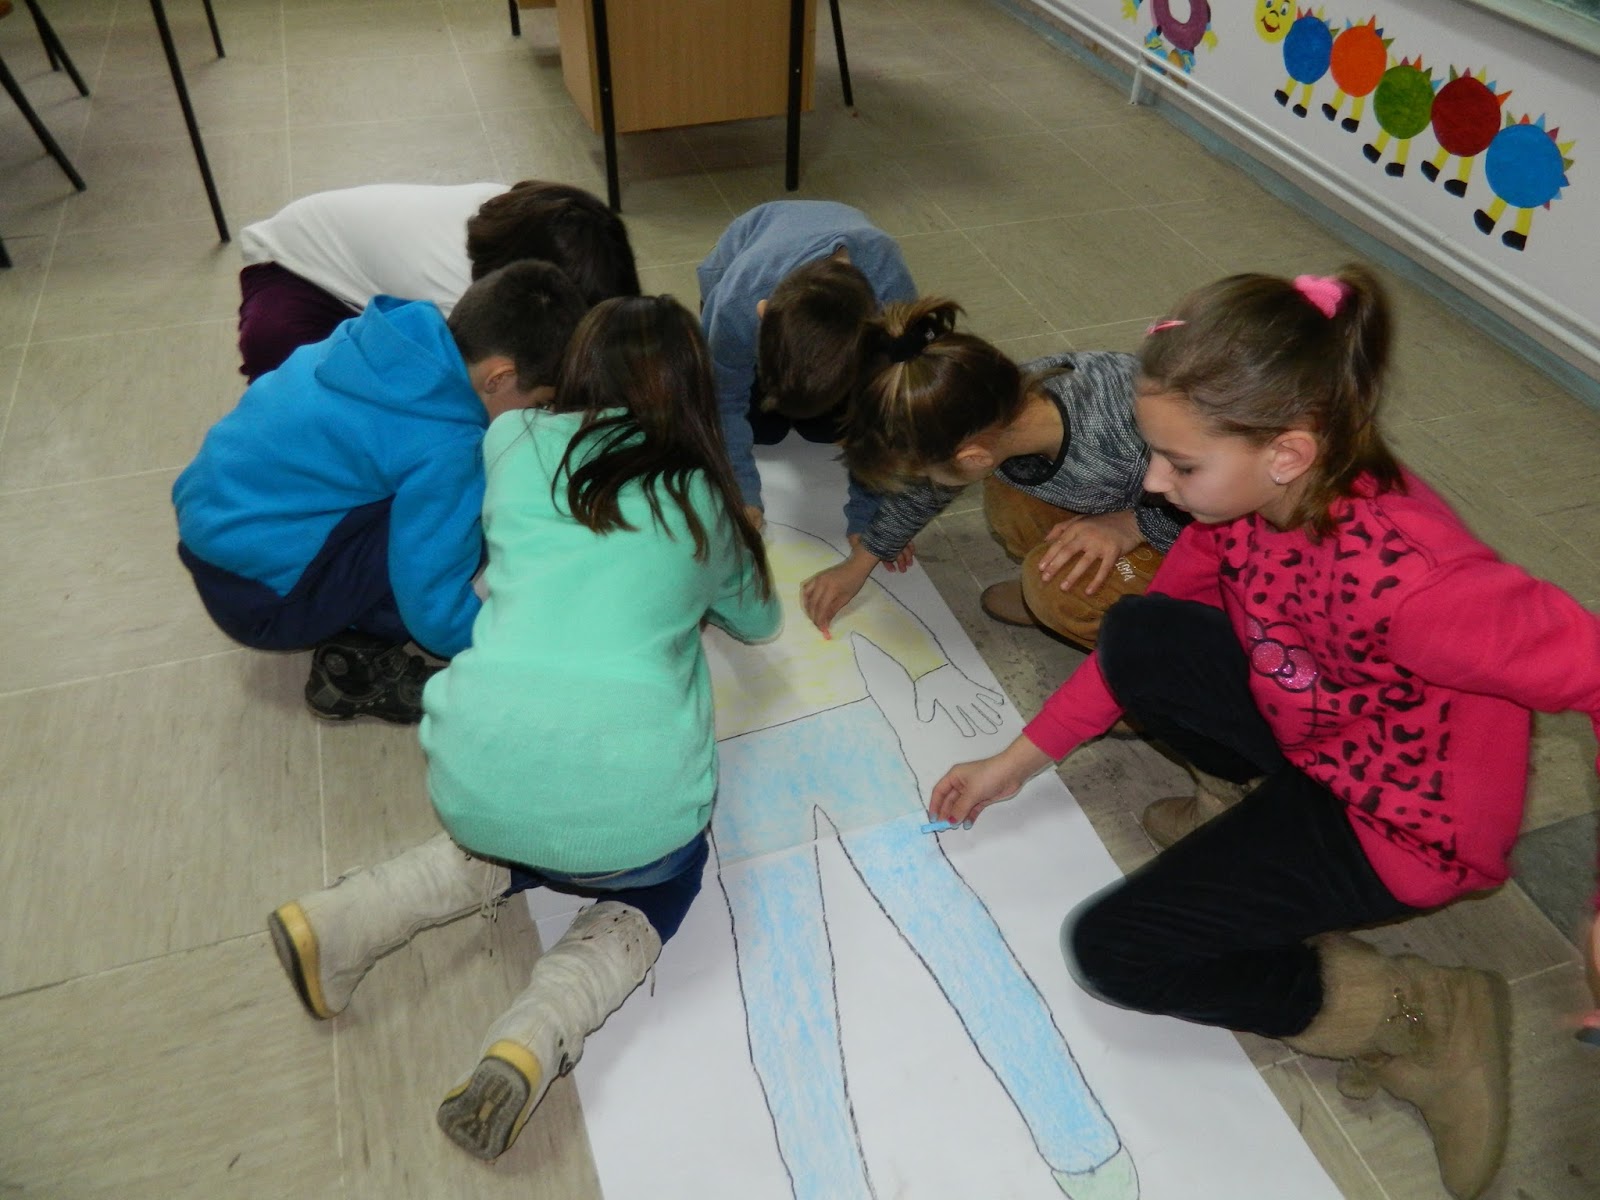
On this lesson we did some revision and created a poster with parts of the body that can be used on other lessons in the future that deal with the same set of words.
1. Warm up: To start the lesson I decided to do a quick TPR activity - listen and do. The teacher names the part of the body and the students point to it. Or the teacher can include some verbs together with the body parts and ask the students to move.
2. Main part: I prepared one poster big enough for a student to lie on. I gave the instructions to the students how to draw a boy on the poster. Then we colored it and decorated it.
2.1 I gave the students some pieces of paper with parts of the body vocabulary written on them. There was one letter missing in each word. The students had to guess the word on the piece of paper, complete the spelling, then put the word on the correct place on the poster and spell the word.
3. End of class activity - It's always good to finish the lesson on a positive note. Young learners love music and dancing. I played some music in the background but I asked the students to dance according to what I said. They had to follow the rhythm of the music but dance "head to head" or "arm to arm" with their partner.
The aim of the lesson is to revise some food vocabulary and learn how to write a sandwich recipe or the steps in making a sandwich.
1. To introduce the topic of the lesson I decided to use realia and demonstrate how I make my favourite sandwich. I tried to elicit the food vocabulary from the students to make it easier for them to complete the activities that followed.
2. In the main part of the lesson the students watched a video with Mr.Bean when he makes a sandwich. ( https://www.youtube.com/watch?v=jtqpuYvOfHY).
2.1 While watching the video they were given a handout and were expected to work in pairs. There were two activities on the handout - one true/false exercise and one with numbering the sentences in the correct order according to the video. ( http://www.eslprintables.com/cinema_and_television/movies/comedy_movies/mr_bean/Mr_Bean_making_a_sandwich_609185/#thetop)
2.2 During the video I asked the students several questions to point out the answers on the handout.
2.3 When the video stopped I asked the students to take some time and complete the second exercise with their partner and once they finished we checked the answers together.
3. To make sure the students know how to write the steps to making a sandwich I used a nice, simple activity I found on the Internet. ( http://www.havefunteaching.com/worksheets/reading-worksheets/plot-worksheets/peanut-butter-jelly-sandwich-sequence-worksheet/) The students worked in pairs and their task was to arrange the sentences on the piece of paper in the correct order. The sentences described the steps we need to follow to make a peanut butter and jelly sandwich. We checked the sentences together and to make sure everyone got everything right we put the sentences on the board in the correct order. In the end the students were given a small handout to write the steps and the recipe for their favourite sandwich.
We've just came back to school after quite a long winter holiday. So, the first few lessons after a holiday are the best time to do some revision and get the students back on track. For this purpose I used some really nice ppt games. I downloaded mine from eslprintables.com. It is a lovely site rich in very useful handouts and other resources.
For my lesson with the first and the second grade students I used:
Colours revision : http://eslprintables.com/powerpoint.asp?id=12222#thetop
Numbers revision: http://www.eslprintables.com/powerpoint.asp?id=12194#thetop
Shapes revision: http://www.eslprintables.com/powerpoint.asp?id=24582#thetop
The aim of this lesson is introducing gerund for making questions.
This lesson follows the one posted previously when the students were introduced with the affirmative and negative form of gerund.
1. I started the lesson by delivering the flash cards to the students from the previous lesson in order to revise affirmative and negative sentences using gerund. Then I introduced how questions are made for each person respectfully. Make sure that you elicit as much as possible from the students while writing down the examples on the board.
2. In order to practice asking questions I decided to do a class survey. I gave the students the instructions and then allowed them to stand up, walk around and interview each other. Once they finished with the survey we put the results on the board. Be sure to expect a bit of a noisy classroom but it's all part of learning and having fun :)
3. In the end we practiced some more speaking by playing a game. I made this paper crown by myself and the cards used in the game too. I got the idea from the game Hedbanz, but I adapted it to my students' needs. It's fun and serves the purpose right. The good thing about it is that you can use it with different questions (tense) and different vocabulary.
The aim of this lesson is to present the students with the type of food containers and make them realize how they help us to make a difference between countable and uncountable nouns.
1. Warm-up : revision from the previous lesson, the difference between countable and uncountable nouns. The students come to the board, take one strip of paper and put it in the correct column on the poster.
2. For the introduction of food containers I used realia. I presented the words to the students and asked them to repeat after me and then say the words by themselves. In the end to make sure they remembered the words well I gave them some toys representing the key vocabulary and asked the students to talk about what they've got.
3. Then I put a poster on the board with the key vocabulary represented by pictures and by eliciting from the student wrote the key words next to each picture. The students were given time to copy from the board on a handout I provided for them earlier.
4. As an end-of-class activity I decided to divide the students in two groups, give them pieces of paper and ask them to "write on the floor". Without looking at the poster on the board they are expected to use what they've learned from the lesson and complete the task.